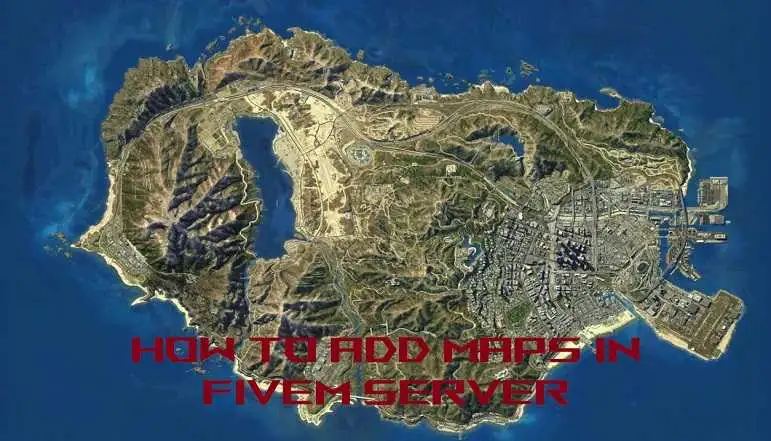
Installing Fivem maps on a FiveM server is a straightforward process.
Follow the steps below to install maps on your FiveM server:
- To properly install a map on a FiveM server, you need to ensure that the map folder contains a “_resource.lua” or “fxmanifest.lua” file and a subfolder named “stream”. This structure is essential for a valid FiveM map installation. Follow the steps below to install the map correctly:
- Locate the map files: Obtain the map files from a reliable source. Look for a map that includes the necessary “_resource.lua” or “fxmanifest.lua” file and a “stream” subfolder.
- Access the FiveM server files: Connect to your server’s file management system or use an FTP client to access the server files. Find the “resources” folder, which is where you will install the map.
- Upload the map files: Upload the entire map folder, including the “_resource.lua” or “fxmanifest.lua” file and the “stream” subfolder, into the “resources” folder of your FiveM server. Maintain the folder structure exactly as it is in the downloaded map files.
- Modify the server configuration: Open the “server.cfg” file using a text editor. Add the name of the map resource to the “start” section, ensuring it matches the name of the map folder you uploaded. For example, if the map folder is named “my-map,” add the line “start my-map” to the configuration file.
- Save and restart the server: Save the changes to the server configuration file and restart your FiveM server. This will load the newly installed map resource.
- Verify the map installation: Join the server and confirm that the map has been successfully installed. Explore the designated areas or use any specific commands provided by the map creator to access the new map content.
- Remember to always adhere to the map creator’s guidelines and ensure that you have the necessary permissions to install and utilize the map on your FiveM server.
Installing Minimaps in FiveM Server Step by Step
To add a minimap to your FiveM server, follow these step-by-step instructions:
- Choose a suitable minimap resource: Search for a minimap resource compatible with FiveM servers. Look for resources that include a minimap script or plugin specifically designed for FiveM.
- Obtain the minimap files: Download the minimap resource files from a trusted source. Ensure that the files are in a compatible format for FiveM, such as a resource folder containing the necessary files and configurations.
- Access the FiveM server files: Connect to your server’s file management system or use an FTP client to access the server files. Locate the “resources” folder, as this is where you will install the minimap resource.
- Upload the minimap files: Upload the entire minimap resource folder into the “resources” folder of your FiveM server. Maintain the folder structure exactly as it is in the downloaded minimap files.
- Modify the server configuration: Open the “server.cfg” file using a text editor. Add the name of the minimap resource to the “start” section, ensuring it matches the name of the resource folder you uploaded. For example, if the resource folder is named “my-minimap,” add the line “start my-minimap” to the configuration file.
- Save and restart the server: Save the changes to the server configuration file and restart your FiveM server. This will load the newly added minimap resource.
- Verify the minimap installation: Join the server and check if the minimap is functioning correctly. Explore the server’s map and ensure that the minimap is displaying relevant information and markers.